The Triangle Table
As part of the reorganization of the office space for the Mathematica
user interface team at Wolfram Research,
Inc.
, we needed some conference tables. Office supply catalogs are really
quite depressing, and the fancy stuff is so insultingly overpriced I'd never
consider it. There was just no choice: I had to make some tables for us.
The results were this Triangle Table and the
Periodic Table
.
The Triangle Table was designed to fit two sofas along two of its edges,
while not taking up too much of the rest of the floor space. By cutting
off half of an ordinary rectangular table, I preserved the full amount of
sofa frontage, while cutting the square footage in half.
To ensure a pleasing degree of asymmetry it made sense to have two different-length
sofas, and of course if you're making a right triangle where the two edges
by the right angle are not the same length, it should really be a 3-4-5 triangle.
The first thing anyone thinks of in connection with triangles is naturally
geometry, specifically constructions with ruler and compass of various sorts
of bisectors, inscribed circles, and so on. So I thought it would be
fun to inlay the table with contrasting woods so as to illustrate some particularly
attractive construction.
Eric Weisstein's MathWorld
website provides a wealth of possible
triangle constructions
. Unfortunately it was offline at the time because of a lawsuit against
it filed by his publisher, CRC Press LLC. Fortunately, he works for
my company and we were the ones defending him against the lawsuit, so I had
access to the material in MathWorld privately. Otherwise, I don't think
the table would have been made this way.
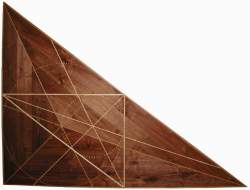
I searched MathWorld looking for a construction that was pretty, had enough
lines but not too many, and looked good in a 3-4-5 triangle. I settled on
the Spieker Center
. If you make your own Triangle Table, pick a different one, because
there are lots of good ones in there.
Here, in words and pictures, is how the table was constructed. Click
on any picture to see a large version open in a separate window.
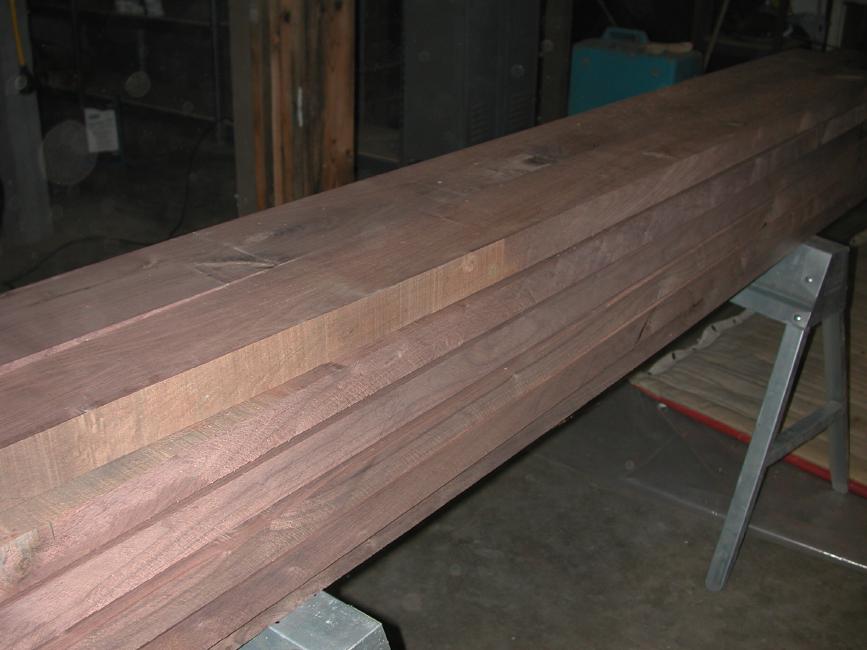
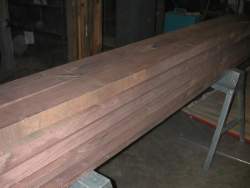
The starting point of any table is a tree: I don't have a picture of the
tree most of the wood for this table came from, but I do have a picture of
the very next step, the rough sawn 2x8 walnut lumber I started with:
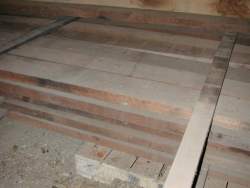
I got a huge amount, much more than in this picture, at an auction for next
to nothing, which is why I build just about everything
out of 2x8 walnut.
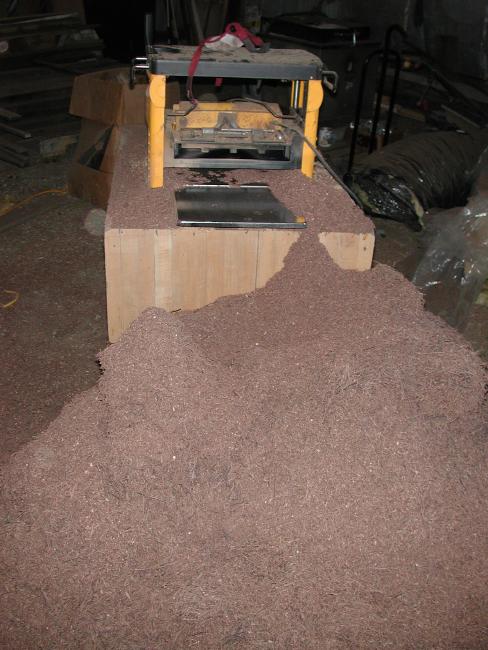
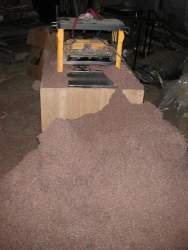
Starting from rough sawn lumber, the first step is planing it to a consistent
thickness (just under two inches in this case):
Then you joint one side:
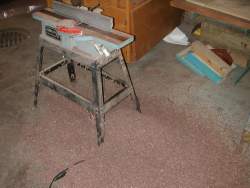
Then run it through the table saw to get the other side parallel:
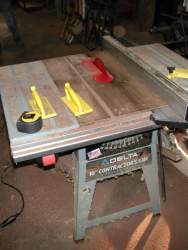
Then you joint the sawn side to make it smooth, giving you S4S stock to
work with:
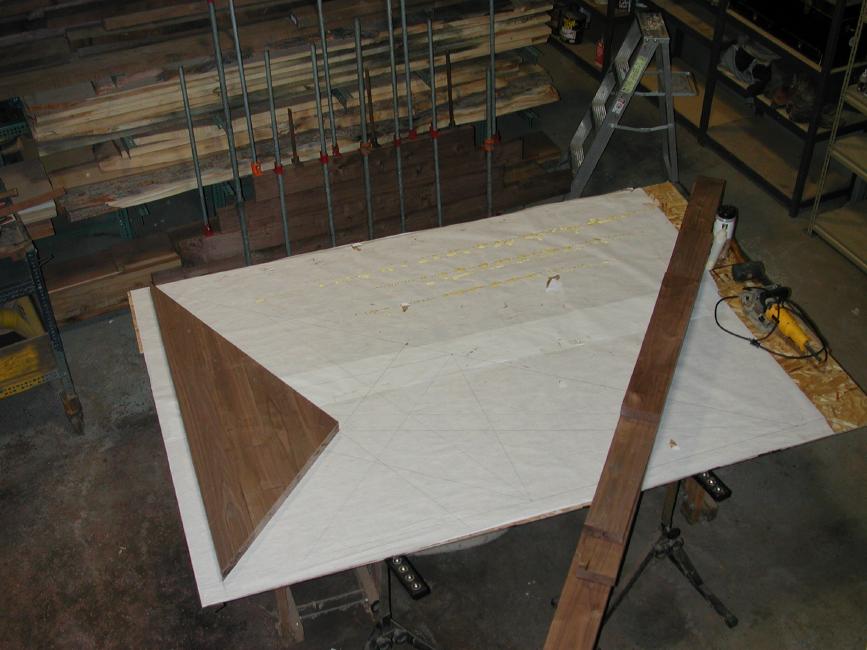
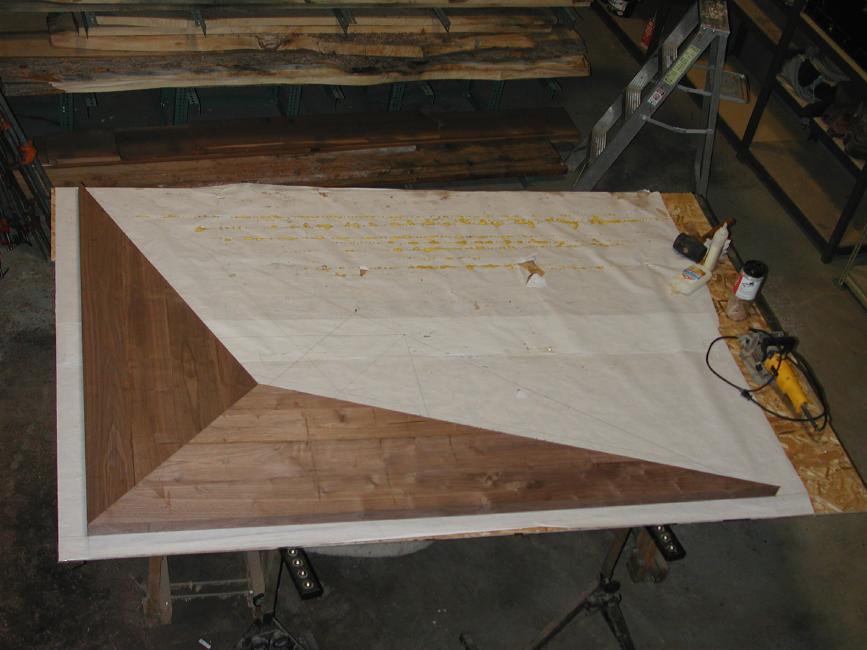
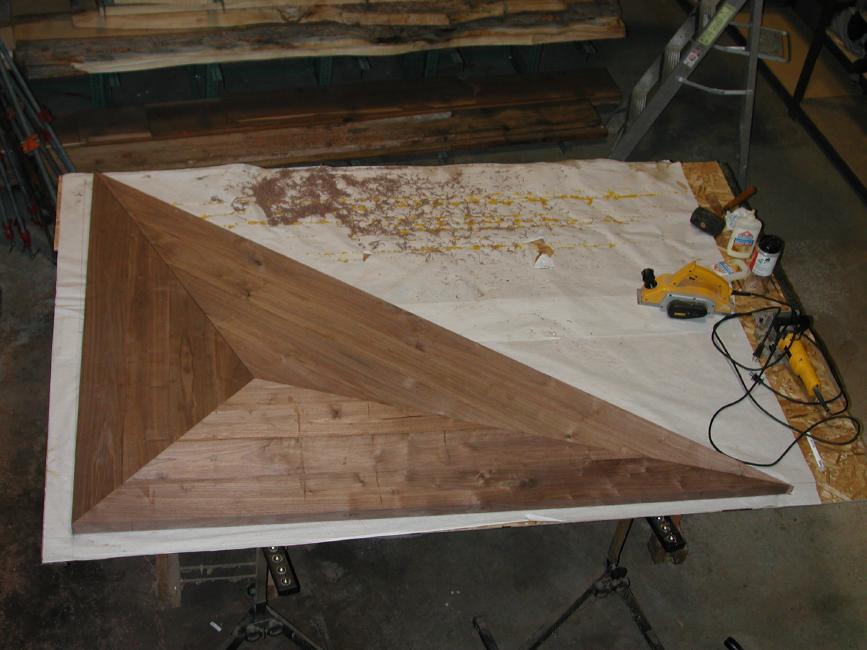
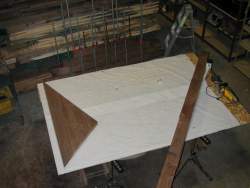
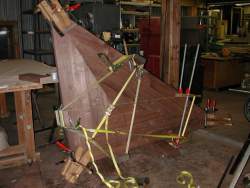
After carefully selecting the boards I wanted to use (this stuff is quite
knotty, so that took some time), I biscuit joined them edge-to-edge into three
slabs large enough to cut three sub-triangle from. These three sub-triangles
were assembled into the whole table one at a time. (Note the large sheet
of paper it's on: It's hard to see in the pictures, but my first task in
making the table was to use actual ruler and compass to lay out a full-size
plan. Sometimes the old ways are the best ways... This is in
fact a 60-80-100 inch triangle.)

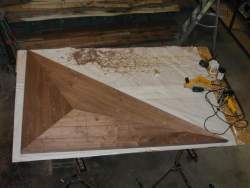
The joints between the sub-triangles are at the midpoint of each angle (that
is, they are the angle bisectors). This means there should be no stress
on the joint as the wood expands and contracts, because the grain is meeting
at the same angle from both directions.
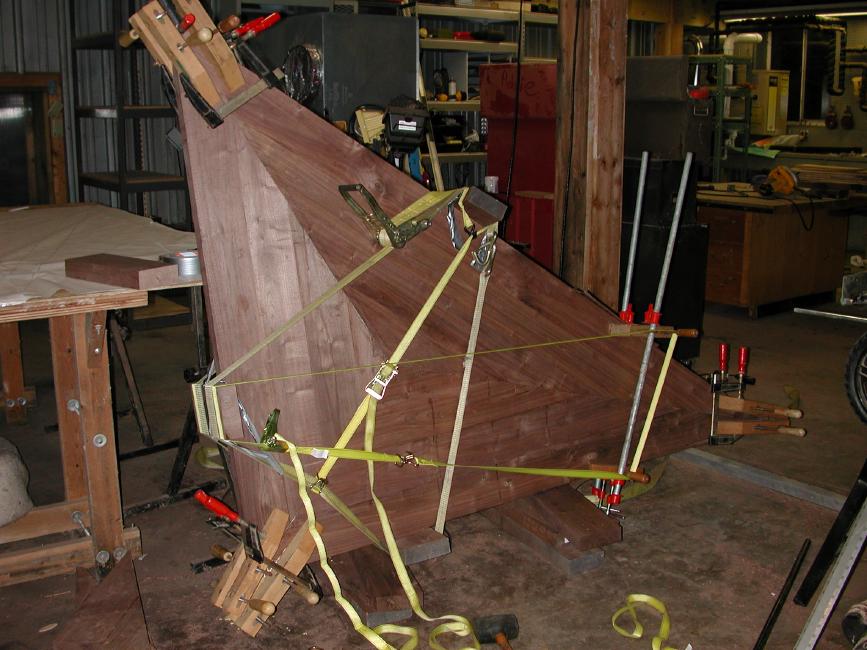
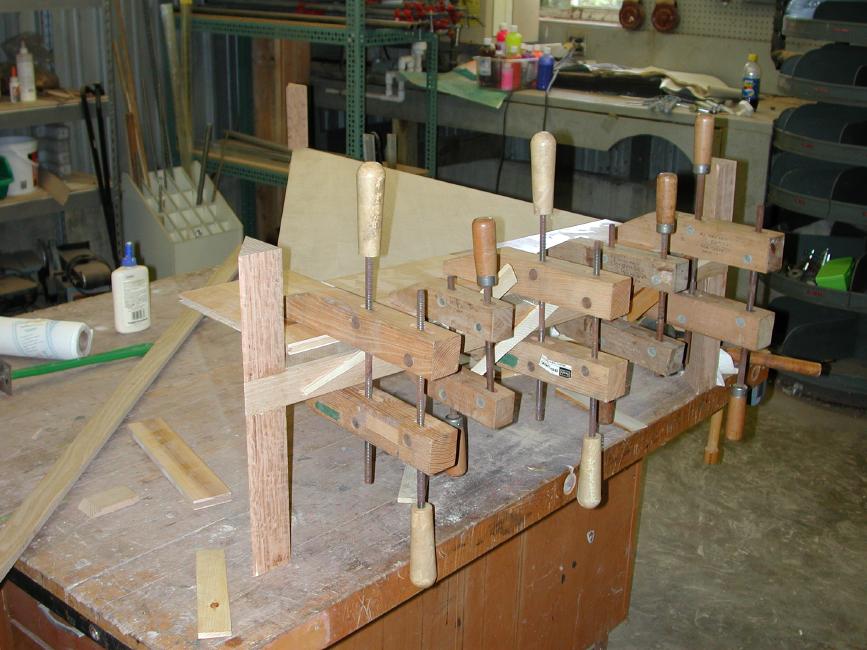
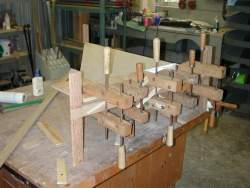
Then came the bondage phase of construction:
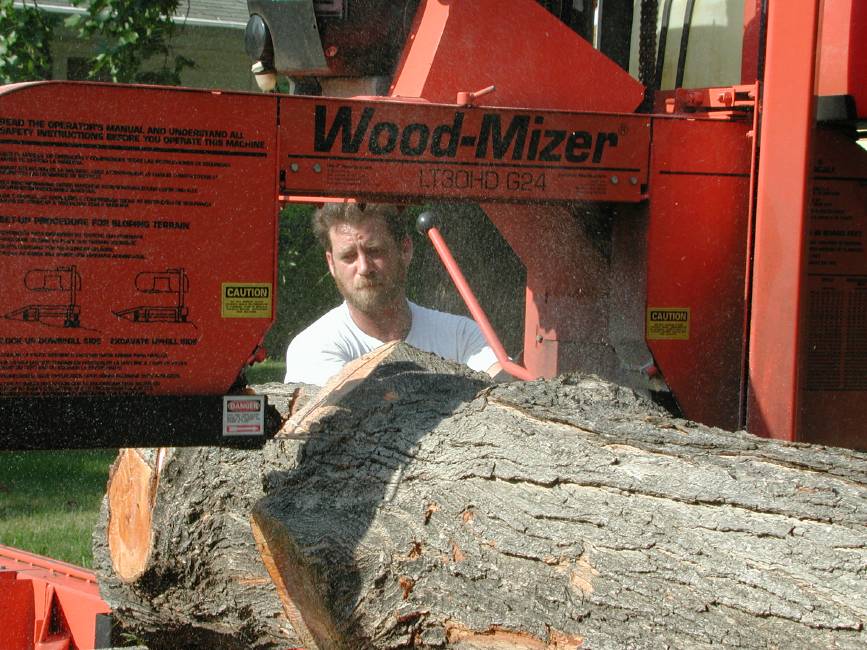
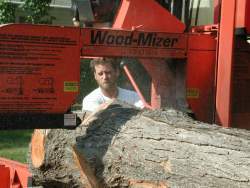
The inlay lines were made of oak and maple wood. The oak was from
the same auction as the walnut, while the maple was from Chris Carlson's
front yard. Here's Chuck and his sawmill cutting it up a few years
earlier:
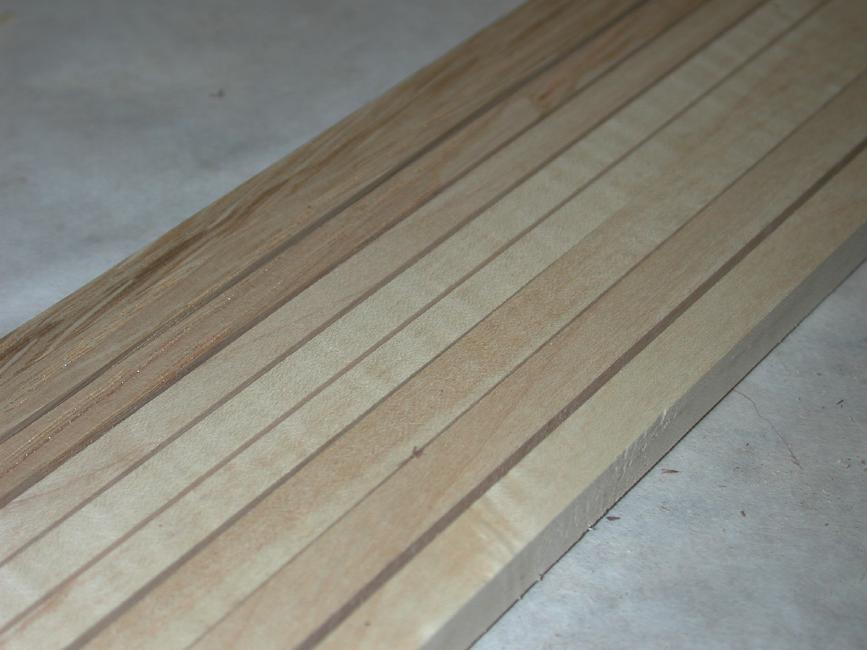
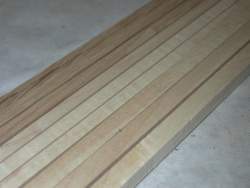
I cut, planed, re-cut, and re-planed the inlay lines into strips about 5/16"
thick and 1/4" or 3/8" wide respectively:
Then I just had to use a router to cut slots, and pound the strips into
the slots.
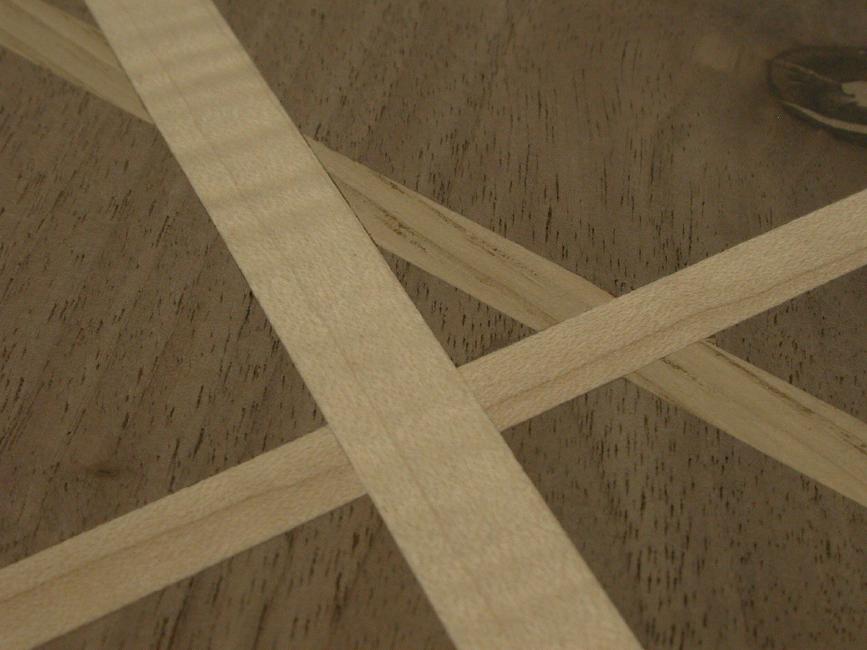
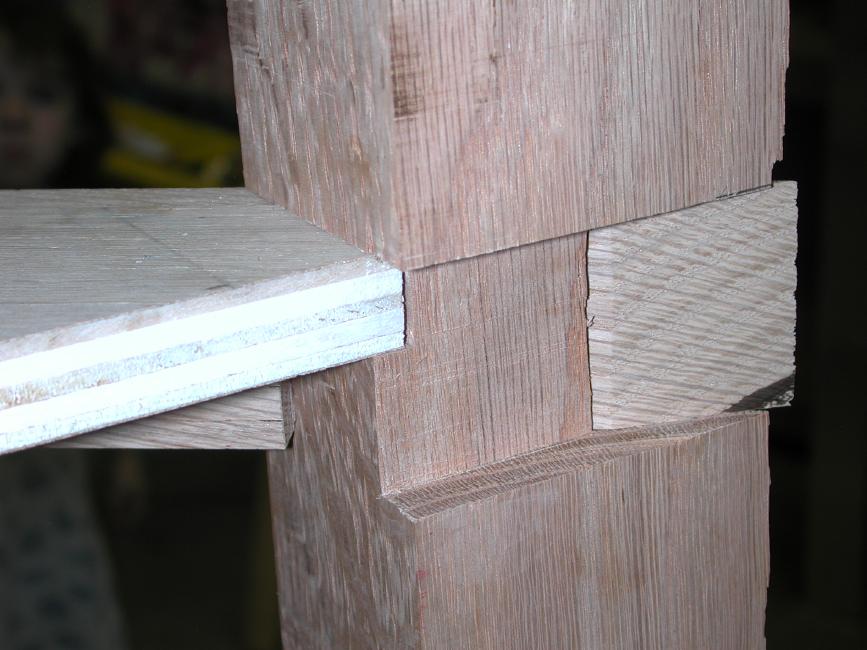
Here's a closeup of one of the intersections (yes, they are supposed to
miss like that...):

One important point to note is that there is an inlay line right on top
of each of the three joints where the three sub-triangles meet. This
significantly reduces the need for those three pieces to meet perfectly,
which is a good thing considering how big they are and how much a tiny error
in angle would be visible if it weren't covered by an inlay line. I
am a great believer in not doing things that look bad if they aren't perfect.
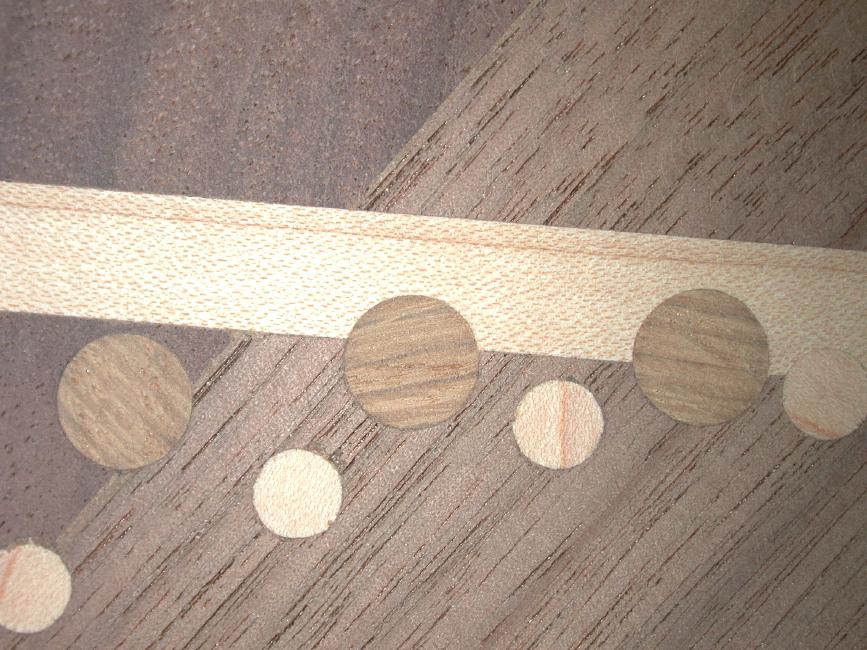
I worried about how to do the circles. Cutting or bending strips to
make a circular inlay is a pain to say the least. So I decided that
people often use dotted lines in this sort of diagram, so I could too. I
drilled holes and made plugs out of scraps of wood using some plug cutters:
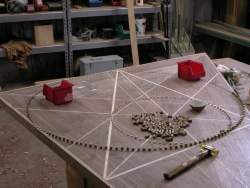
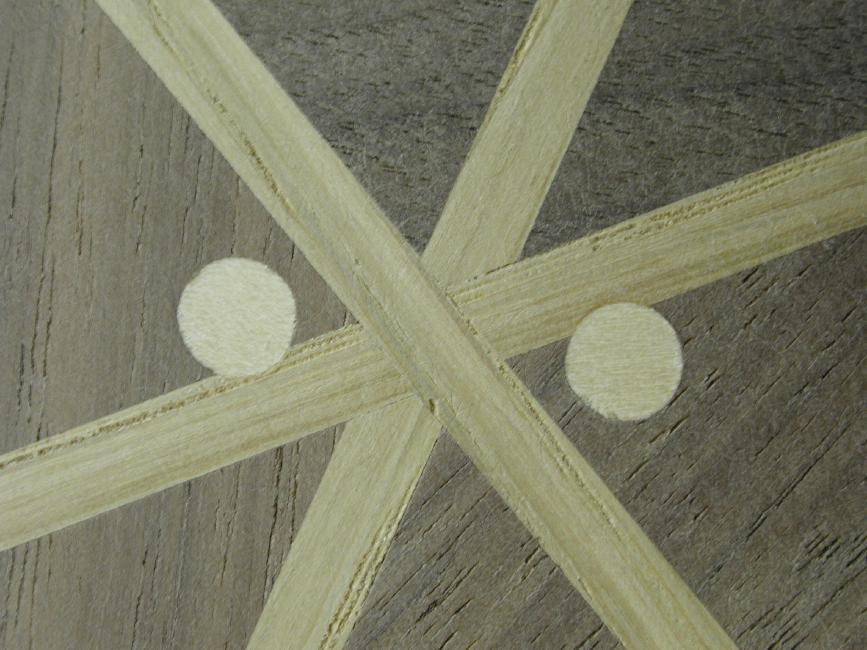
Here are some closeups of the circles meeting the lines:
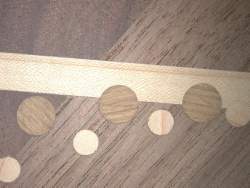
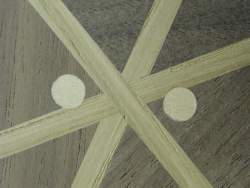
Note that the second example demonstrates how tight the intersections are,
if I may say so myself. The dots are supposed to be equidistant from
the center of the intersection, and they are supposed to intersect the one
line by an equal amount on each size. The lines are 1/4" wide. I
think it's pretty close.
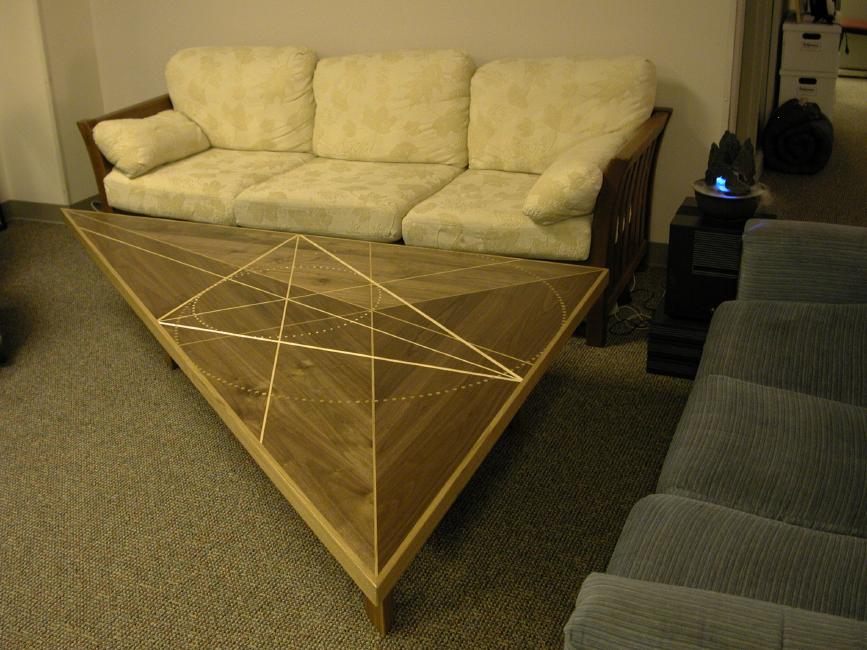
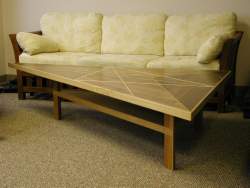
After the surface was all sanded down smooth, here's the final tabletop
before varnishing:

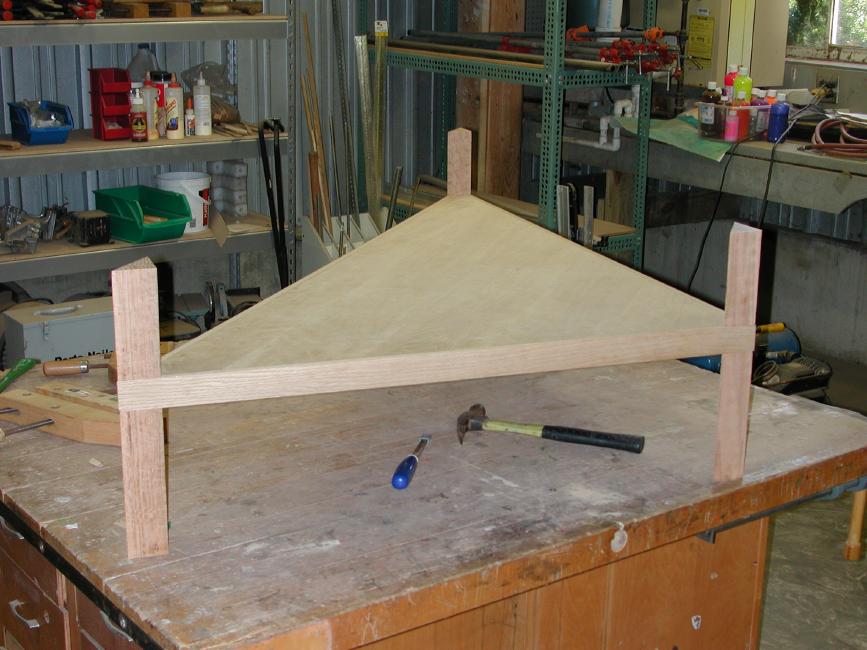
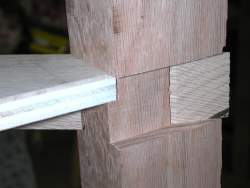
For the legs I wanted something that would not get in the way of feet, and
would provide some storage space for a conference phone, etc. I built
a shelf supported by three legs (of course everything, including the legs,
are 3-4-5 triangles:

Then it was off to the Amish for a coat of their best high-tech catalytic
urethane varnish, and it's done:

In the 6 months that it's been installed, a couple of very small cracks
have appeared, probably due to further drying of the walnut. The humidity
control in my shop it not what it should be. Fortunately, I have a
good 5/16" thickness in the inlays, and after it's totally settled in and
done with any shifting it's going to do, maybe in 3-5 years, I'll take a
look at the cracks and if they seem annoying I'll just sand the whole thing
down to bare wood, fill the cracks with wood putty and have the Amish re-varnish
it. That should hold it for a couple of centuries at least. Unless,
of course, the inlays never allow it to stabilize, in which case it will
just always have a few hairline cracks in one place or another. No
big deal.
One fact sure to amuse future generations is that on the bottom side of the
table is a complete replica (minus the circles) of the same construction
as the top, only sloppier. I did one on the bottom for practice first,
and I also figured that by having identical inlays on the top and bottom,
any stress introduced would be balanced and would never cause the whole thing
to warp. It also hides the joints between the three sub-triangles from
both directions, so no one can ever tell how close I got those joints.
If you've read this far, be sure to check out my
Periodic Table
. It's less complex from a wood working point of view, but more more
elaborate in other ways, and its website is definitely way more complicated
than this one. You can also see a list of all the
woodworking projects
I have online.